| |
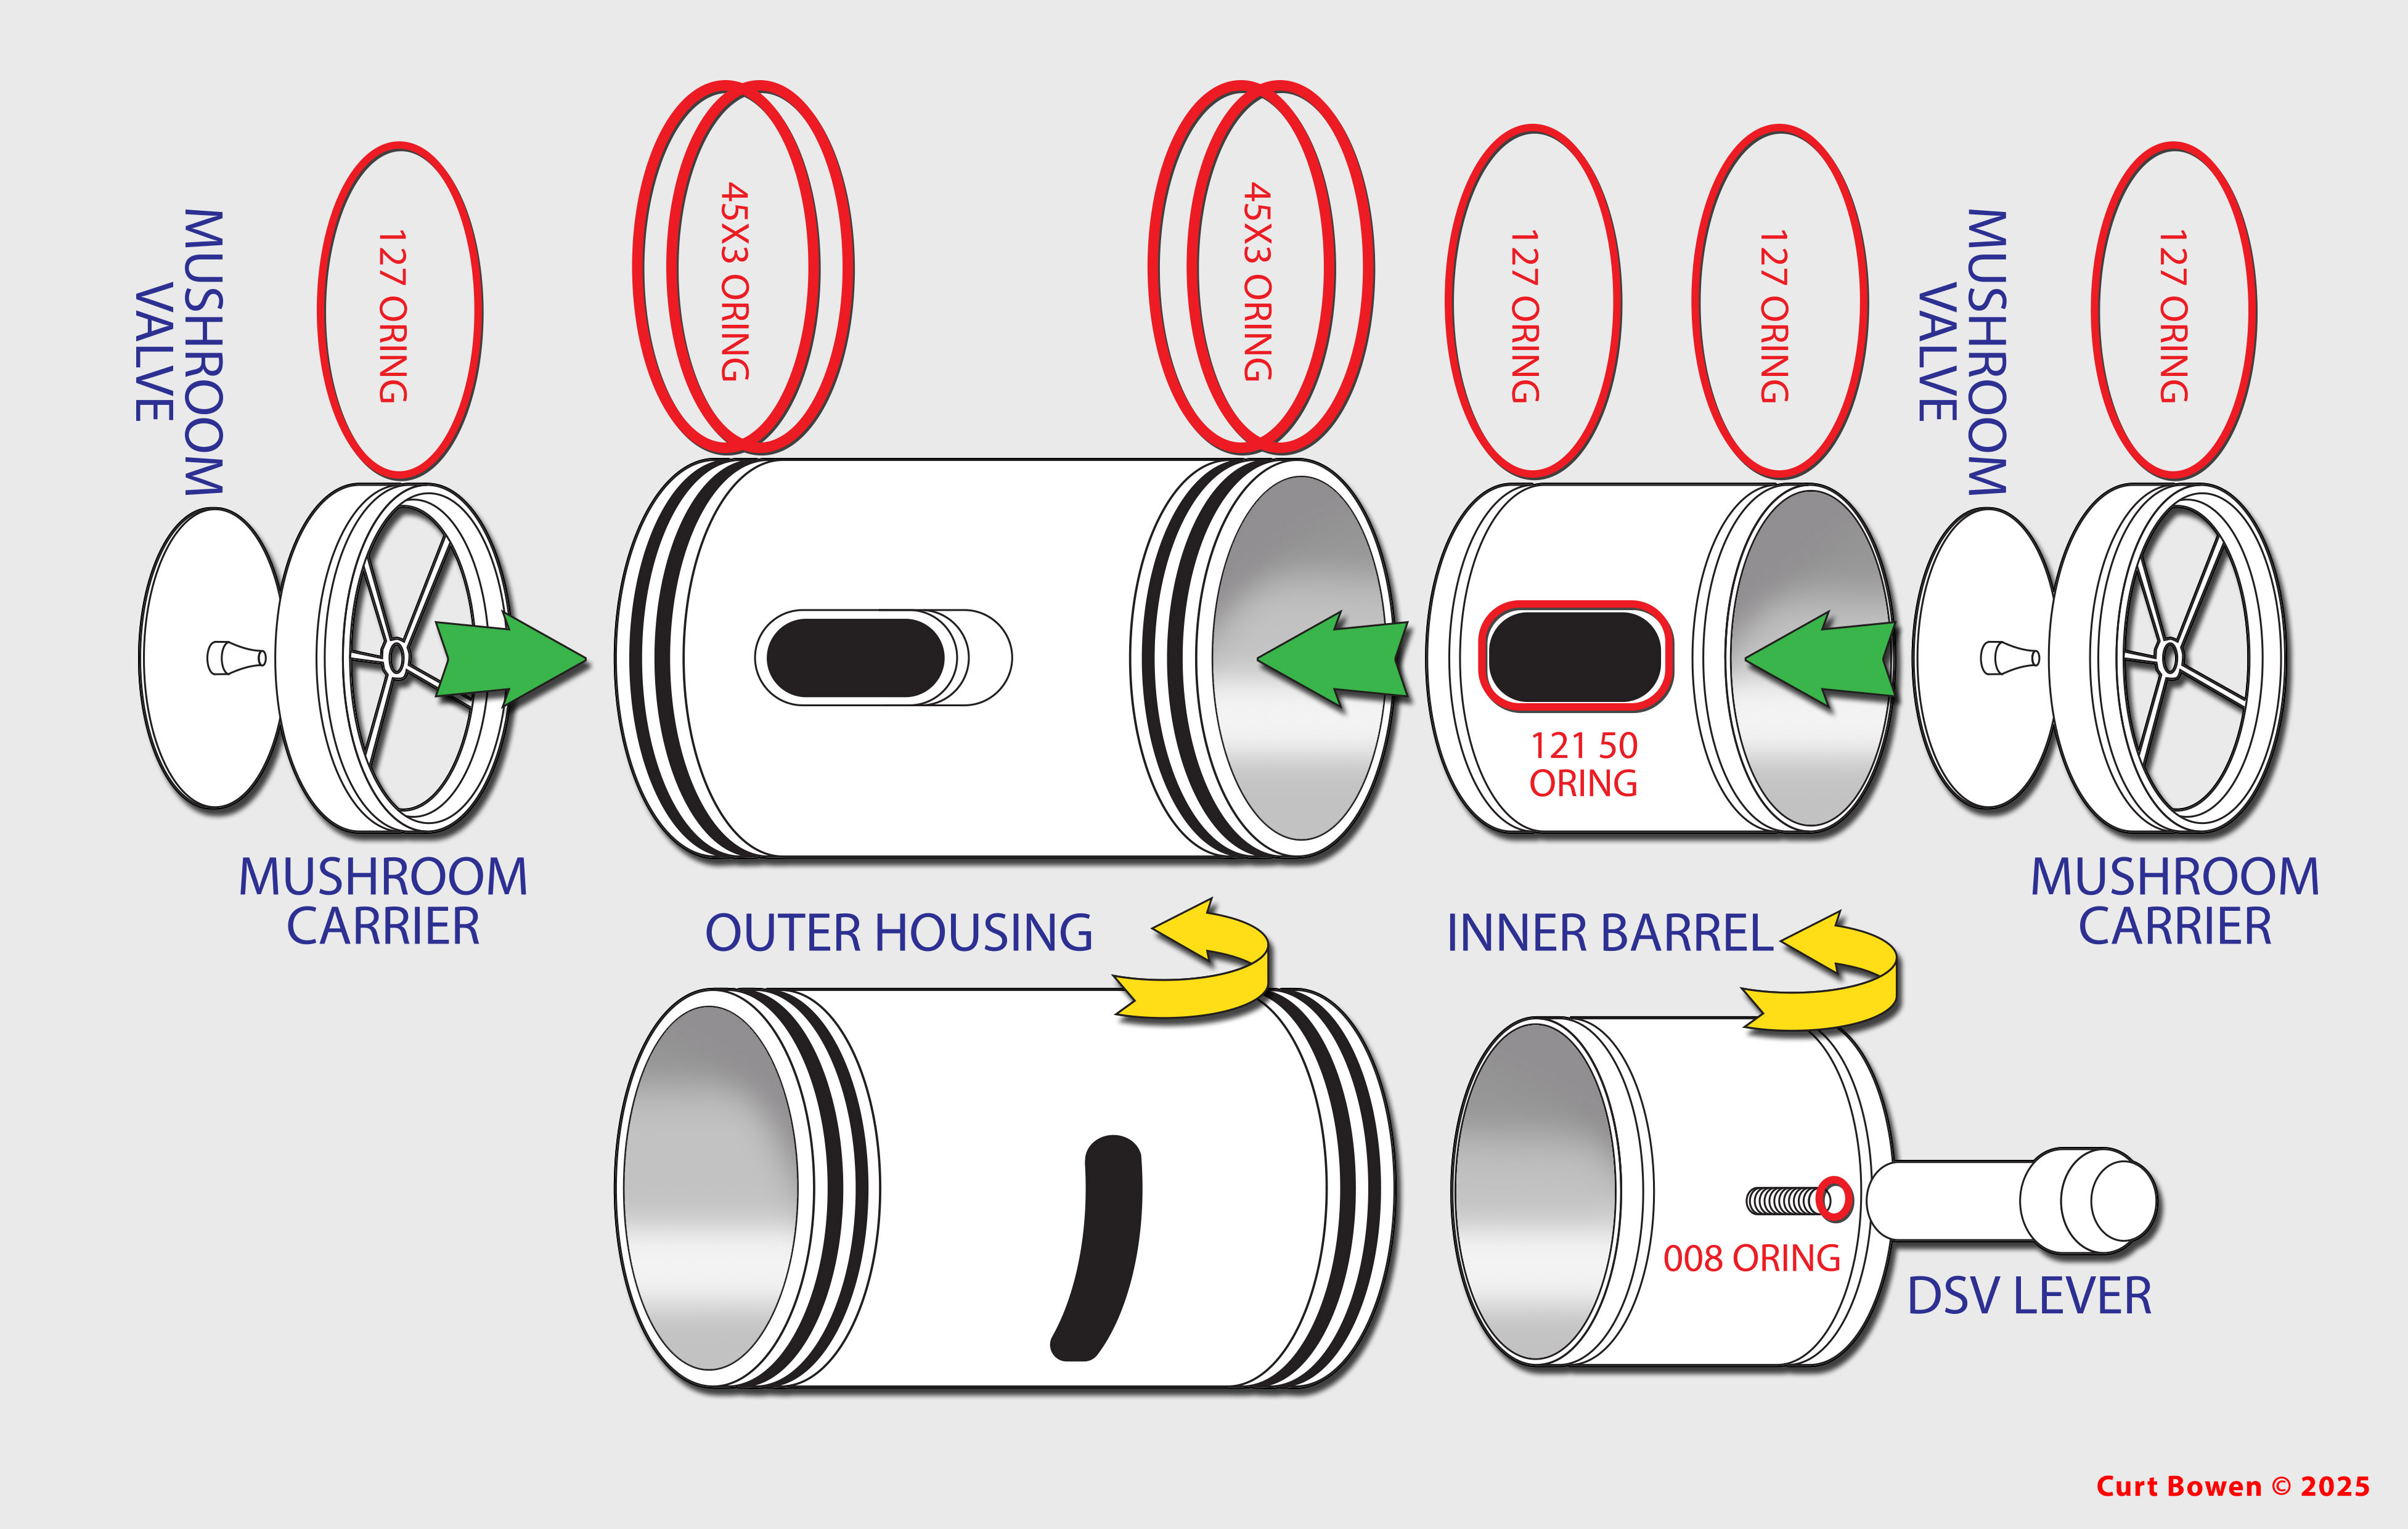
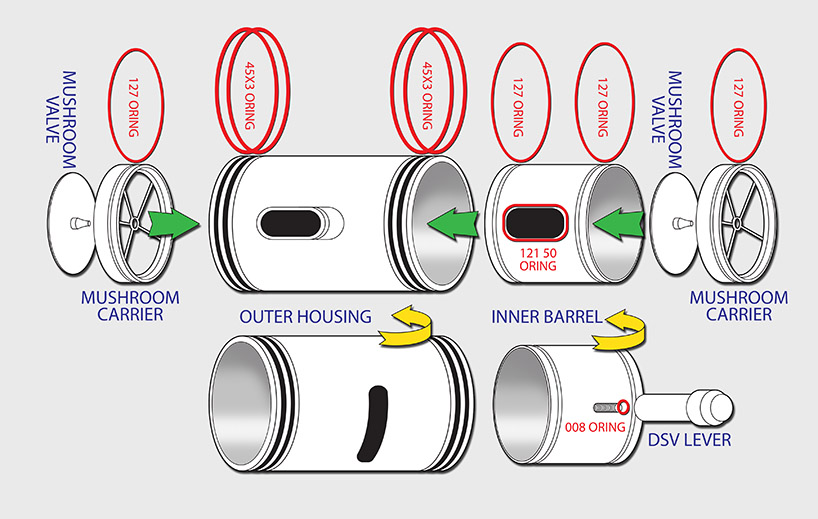
| GO DSV BREAKDOWN (click to enlarge) |
 |
| CLICK ON ILLUSTRATION AND IMAGES TO EXPAND |
 |
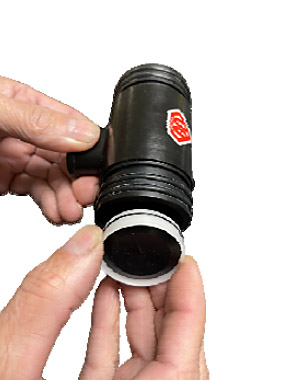 |
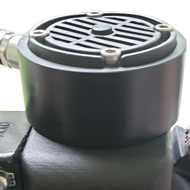
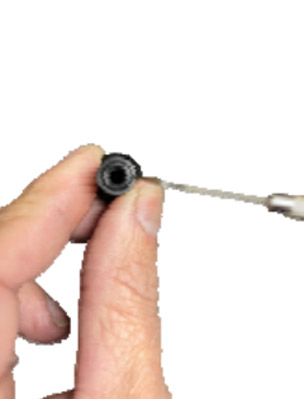
With a pair of needlenose, carefully remove both mushroom carriers from each end of the Outer Housing. (They will pull directly outwards)
Inspect (127 )-Rings) and Mushroom Valve for possible damage.
When installing the mushroom valves, the left hand side must allow the gas to flow inwards,
from the breathing loop. This is the gas you will be inhaling, and is the scrubbed
gas.
The right hand side must allow the gas to flow outwards. This is the gas that you have
exhaled, and will be going into the unit to be scrubbed. |
|
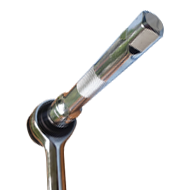
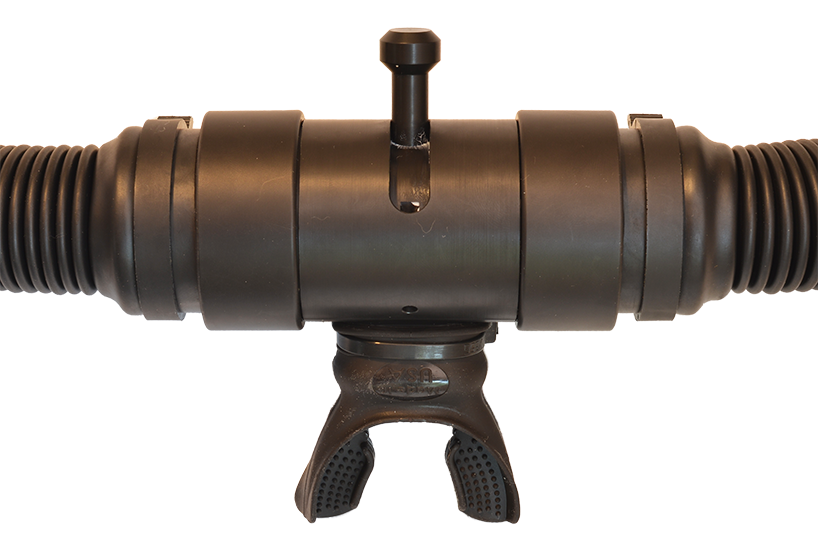
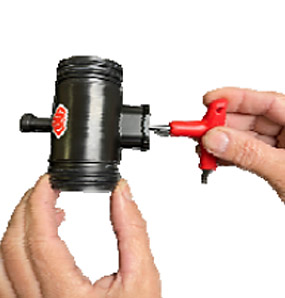
Using an 1/8 inch Allen wrench, reach through the breathing port and remove the screw that holds the lever in place.
Be carefull not to loose the small 008 O-Ring that is placed betwwen the screw and the DSV Lever. |
|
 |
|
 |
| Inspect the lever, and be certain that the #008 O‐ring is in place. Reinstall the lever, being certain to not over tighten. |
|
|
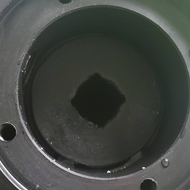
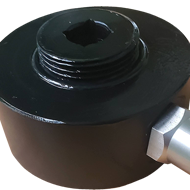
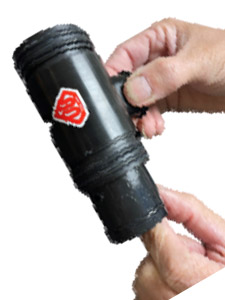
Once the lever has been removed, push the inner barrel out. It can be pushed out at either
end.
Inspect the inner barrel, and after cleaning it the O‐rings can now be replaced. 1 x #121 50 durometer, and 2 x # 127 70 durometer. Next, clean and lubricate the inside of DSV body. Finally, lubricate the outside of the barrel. |
|
 |
|
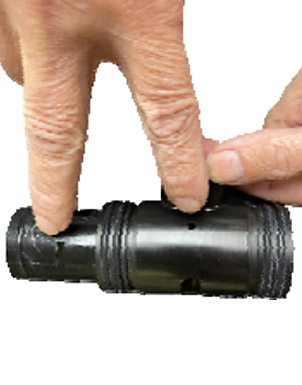 |
| When reassembling the barrel, be certain to align the notch in the barrel with the side of the body that has the small hole. |
|
|
| |
|
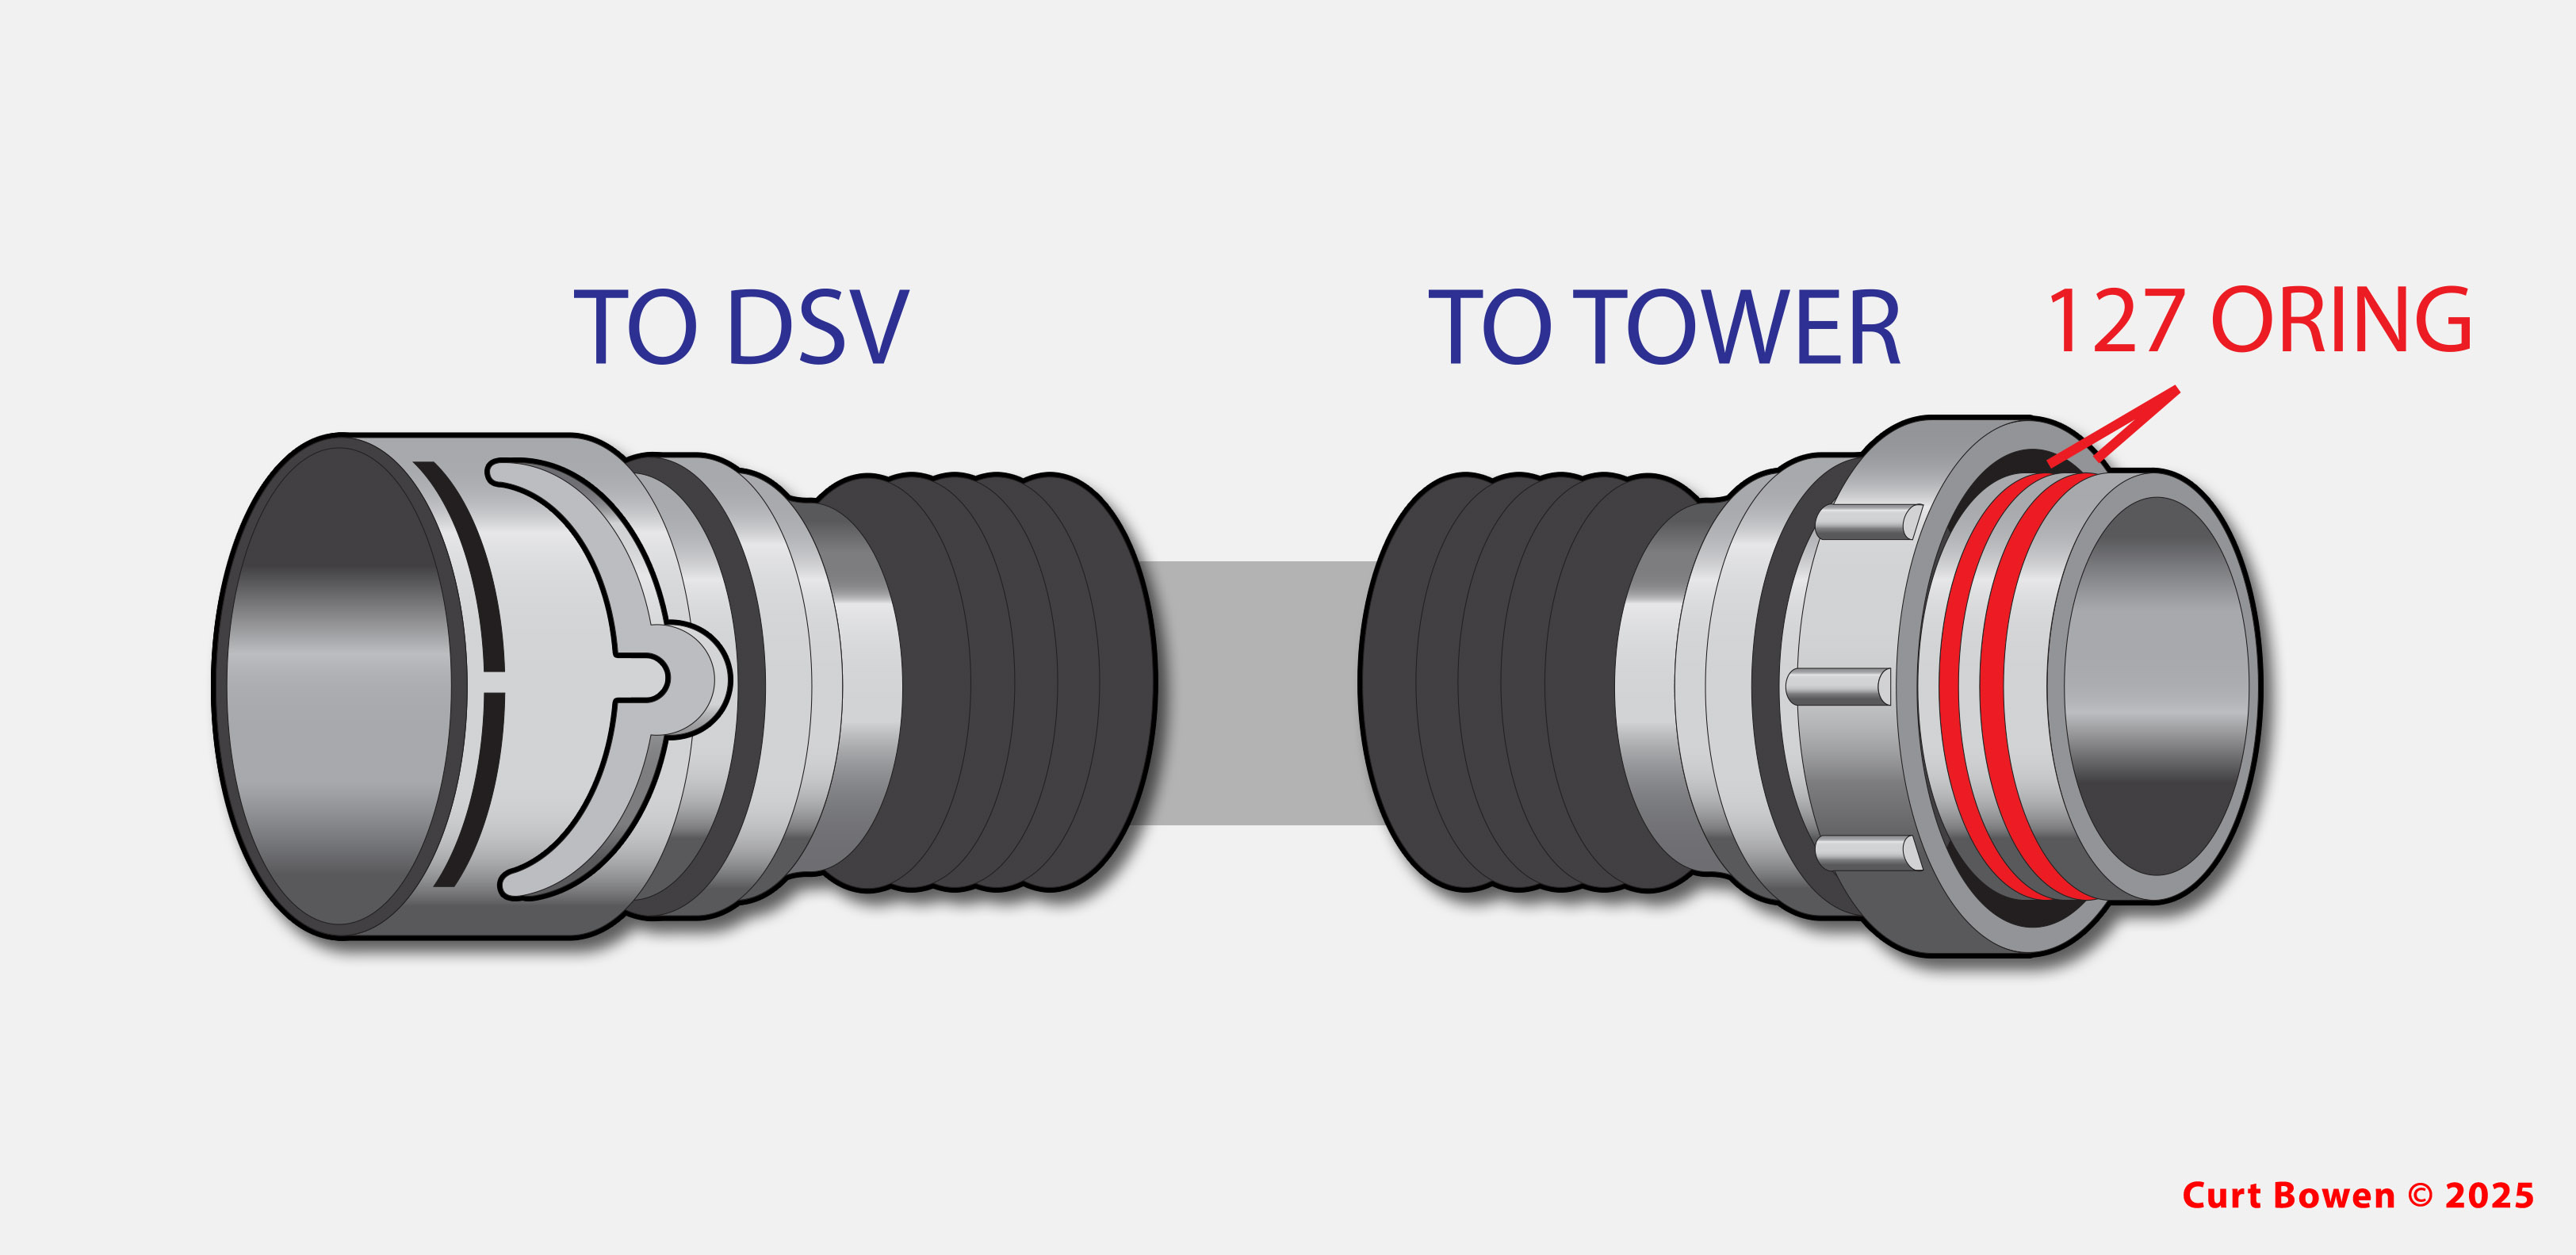
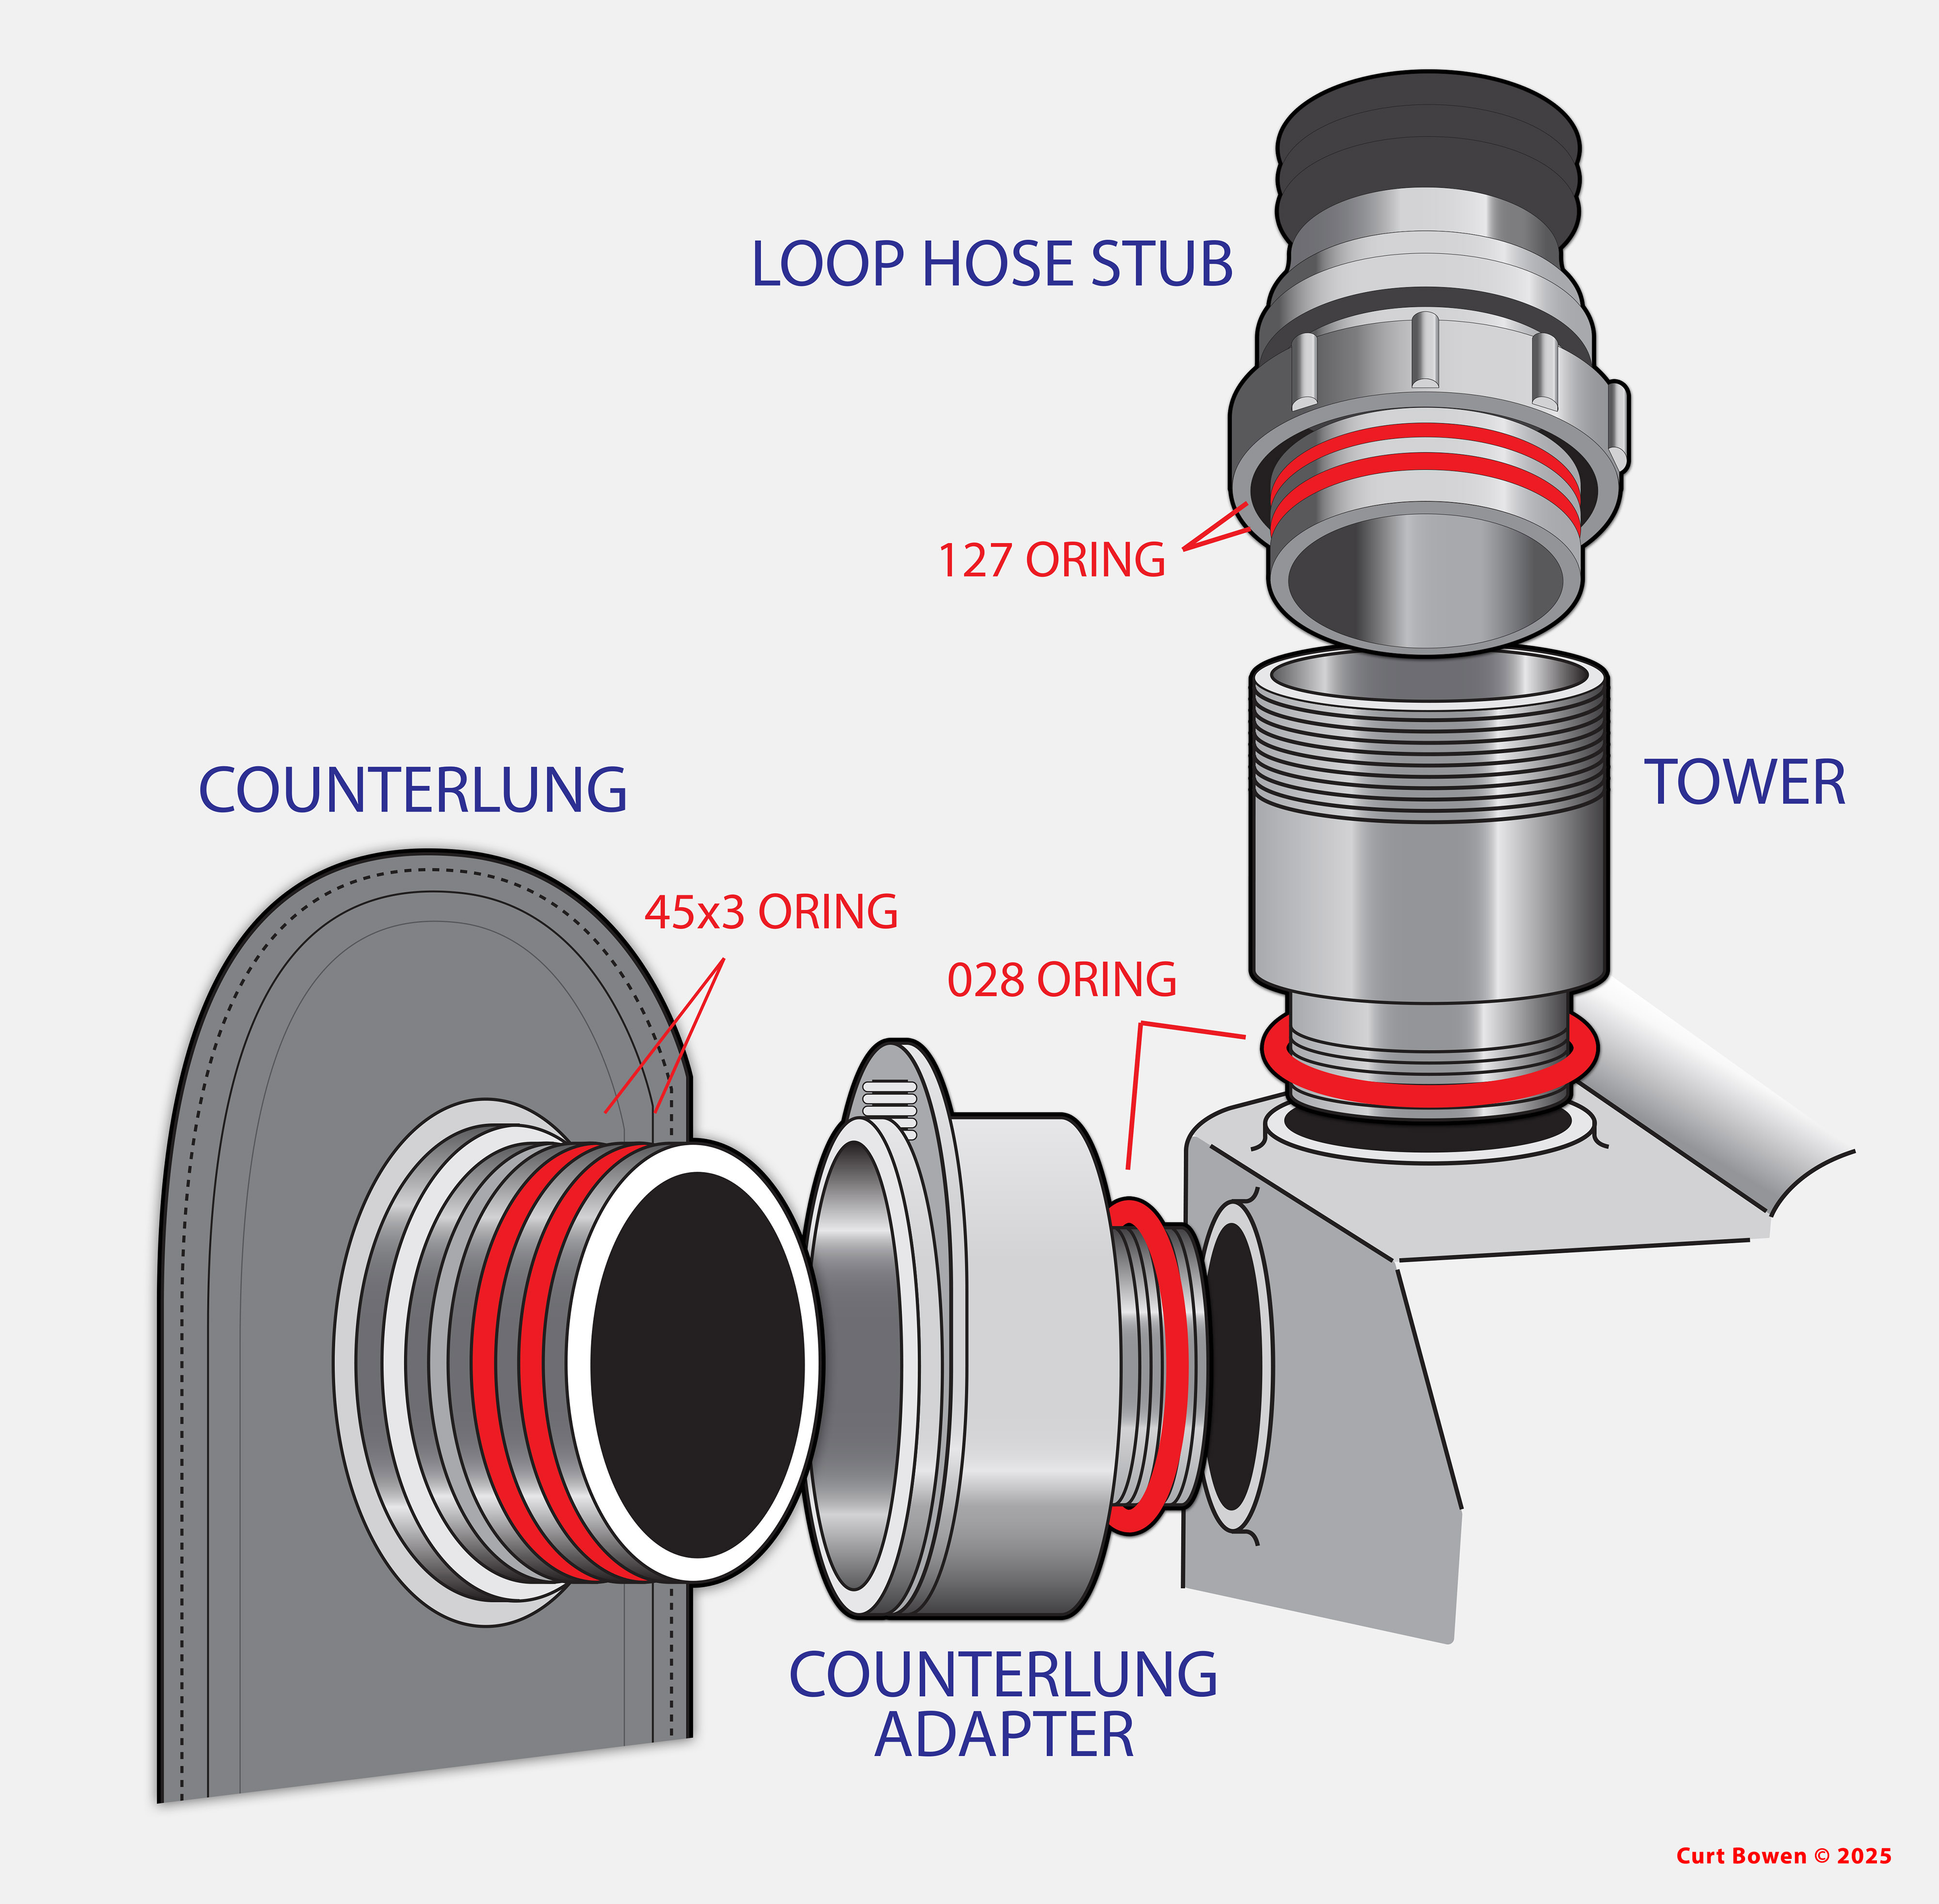
| BREATHING LOOP CONNECTIONS |
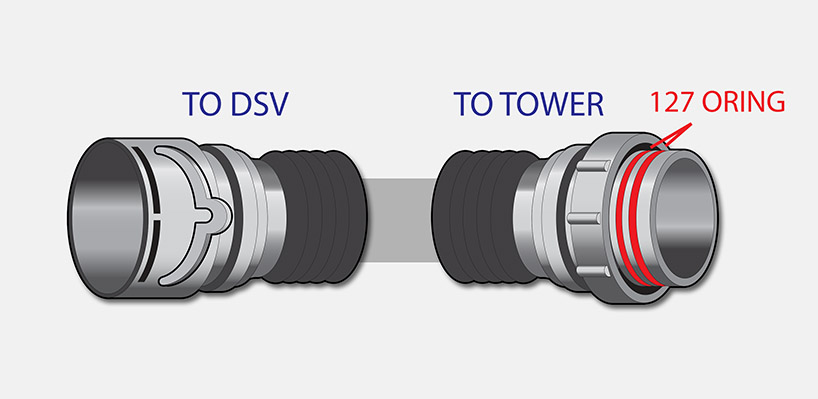 |
| CLICK ON ILLUSTRATION AND IMAGES TO EXPAND |
|
| |
|
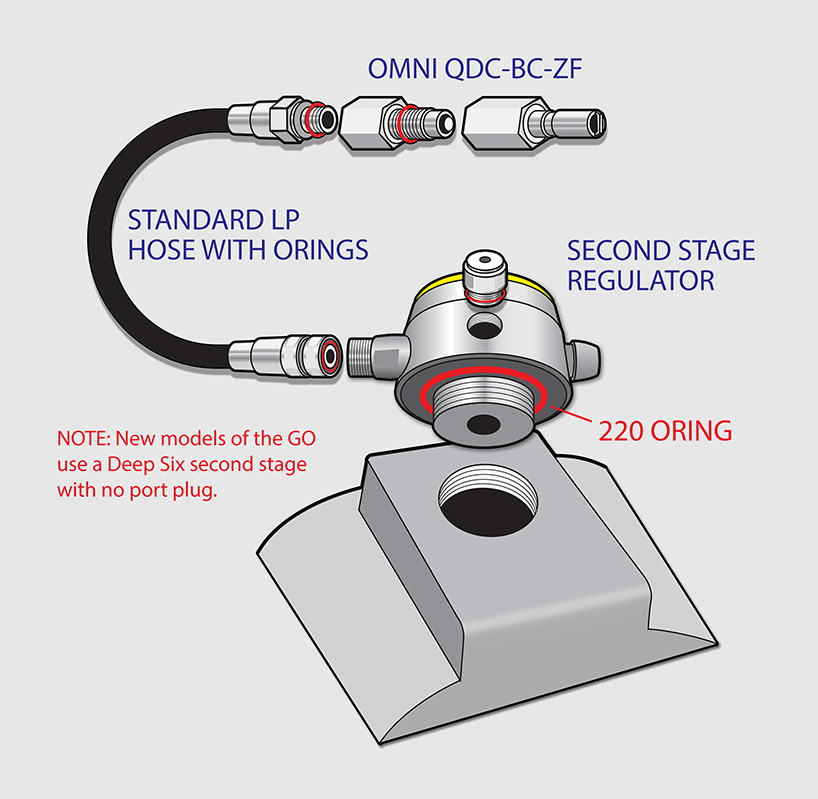
 |
| CLICK ON ILLUSTRATION AND IMAGES TO EXPAND |
|
| |
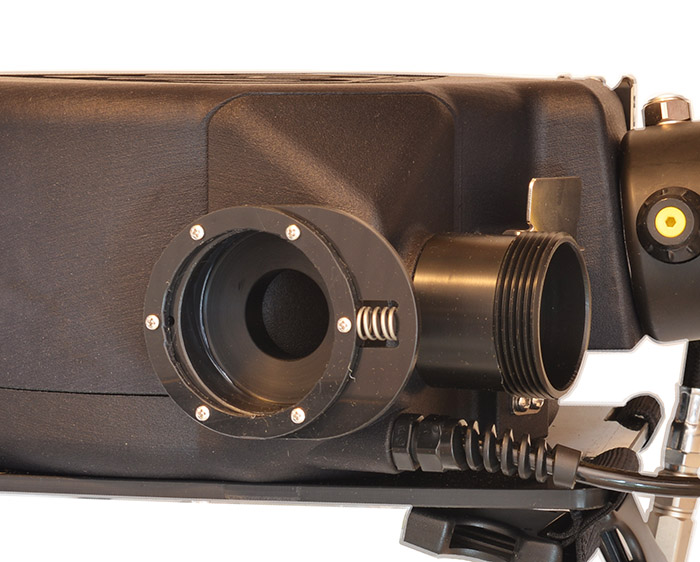
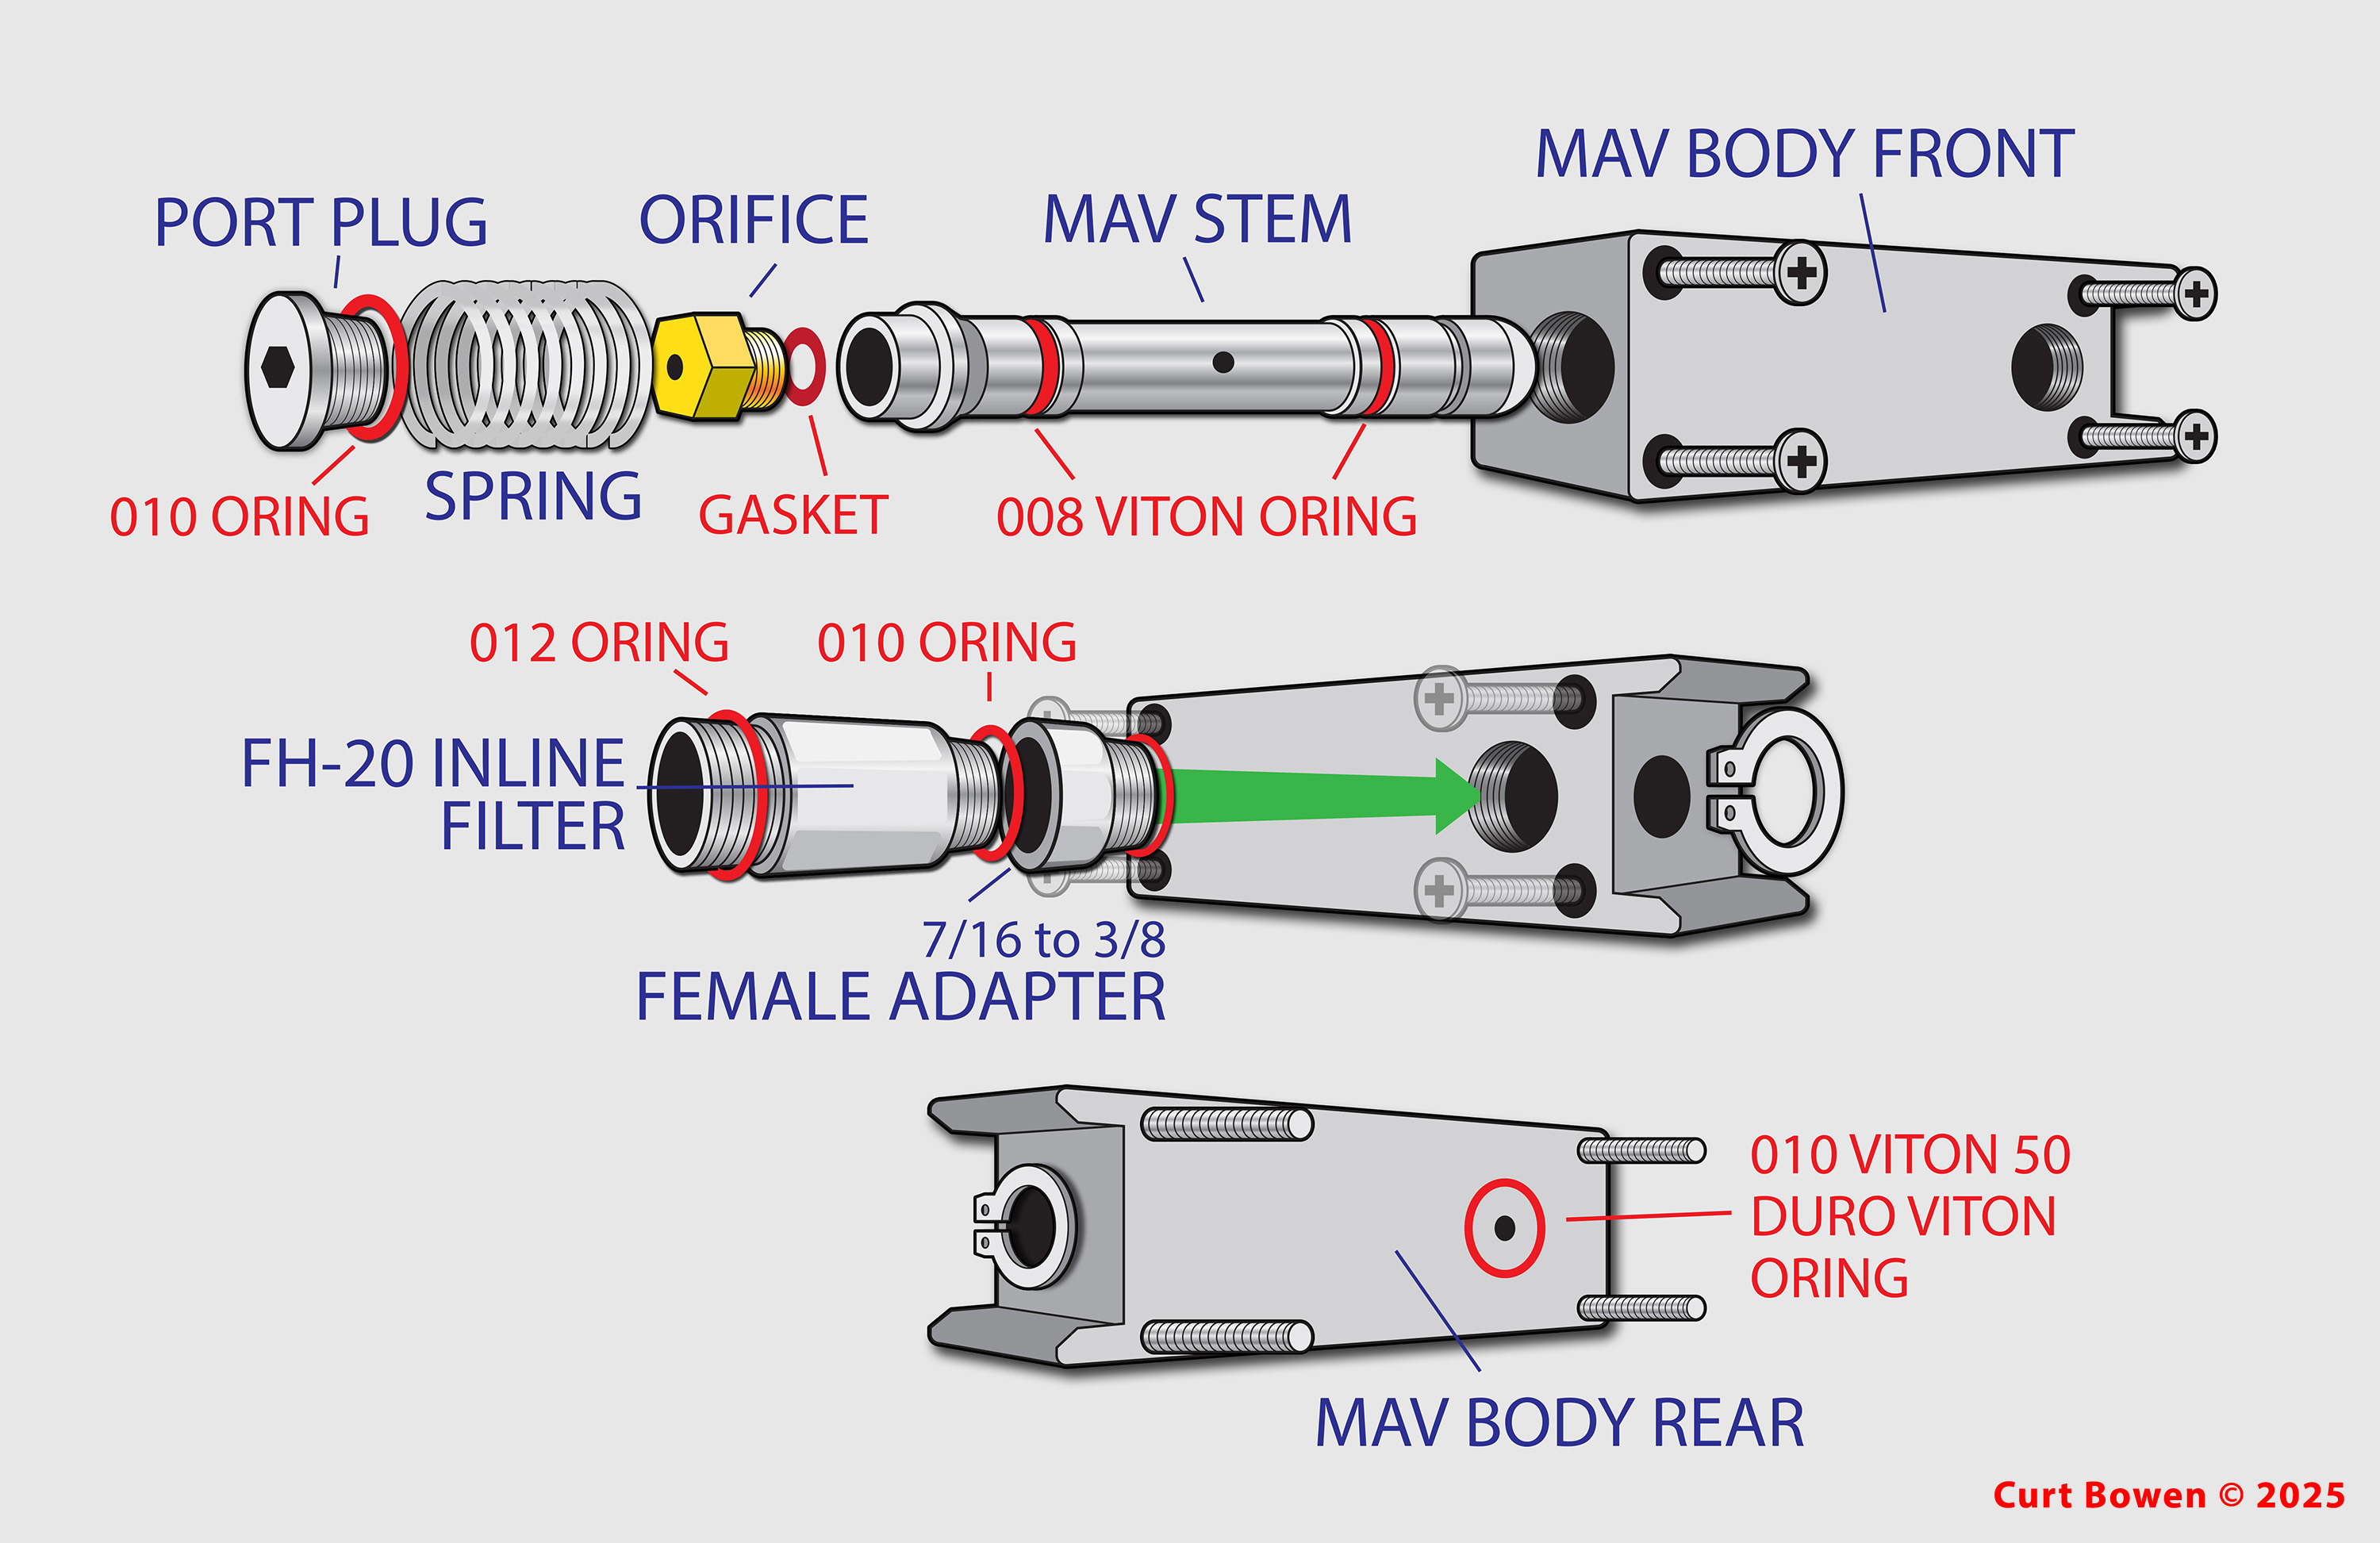
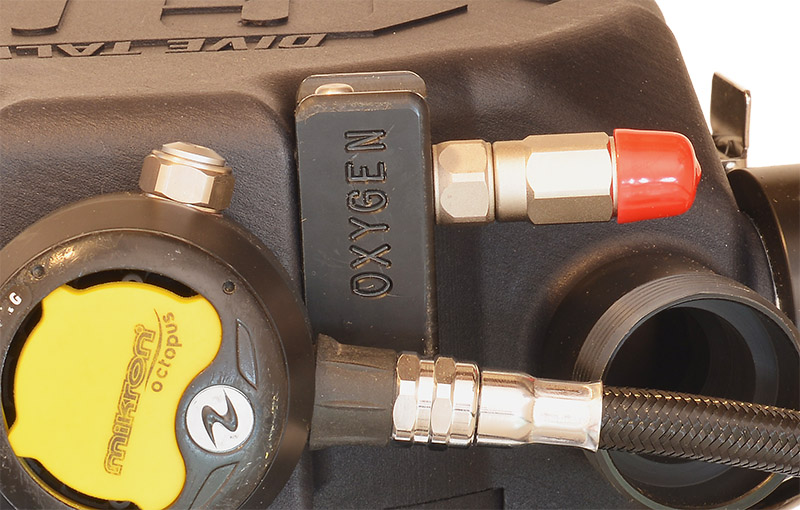
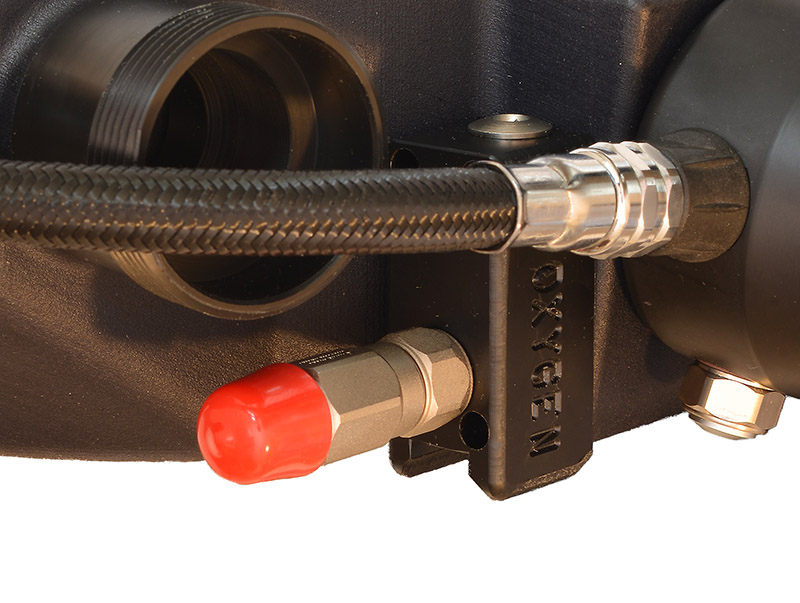
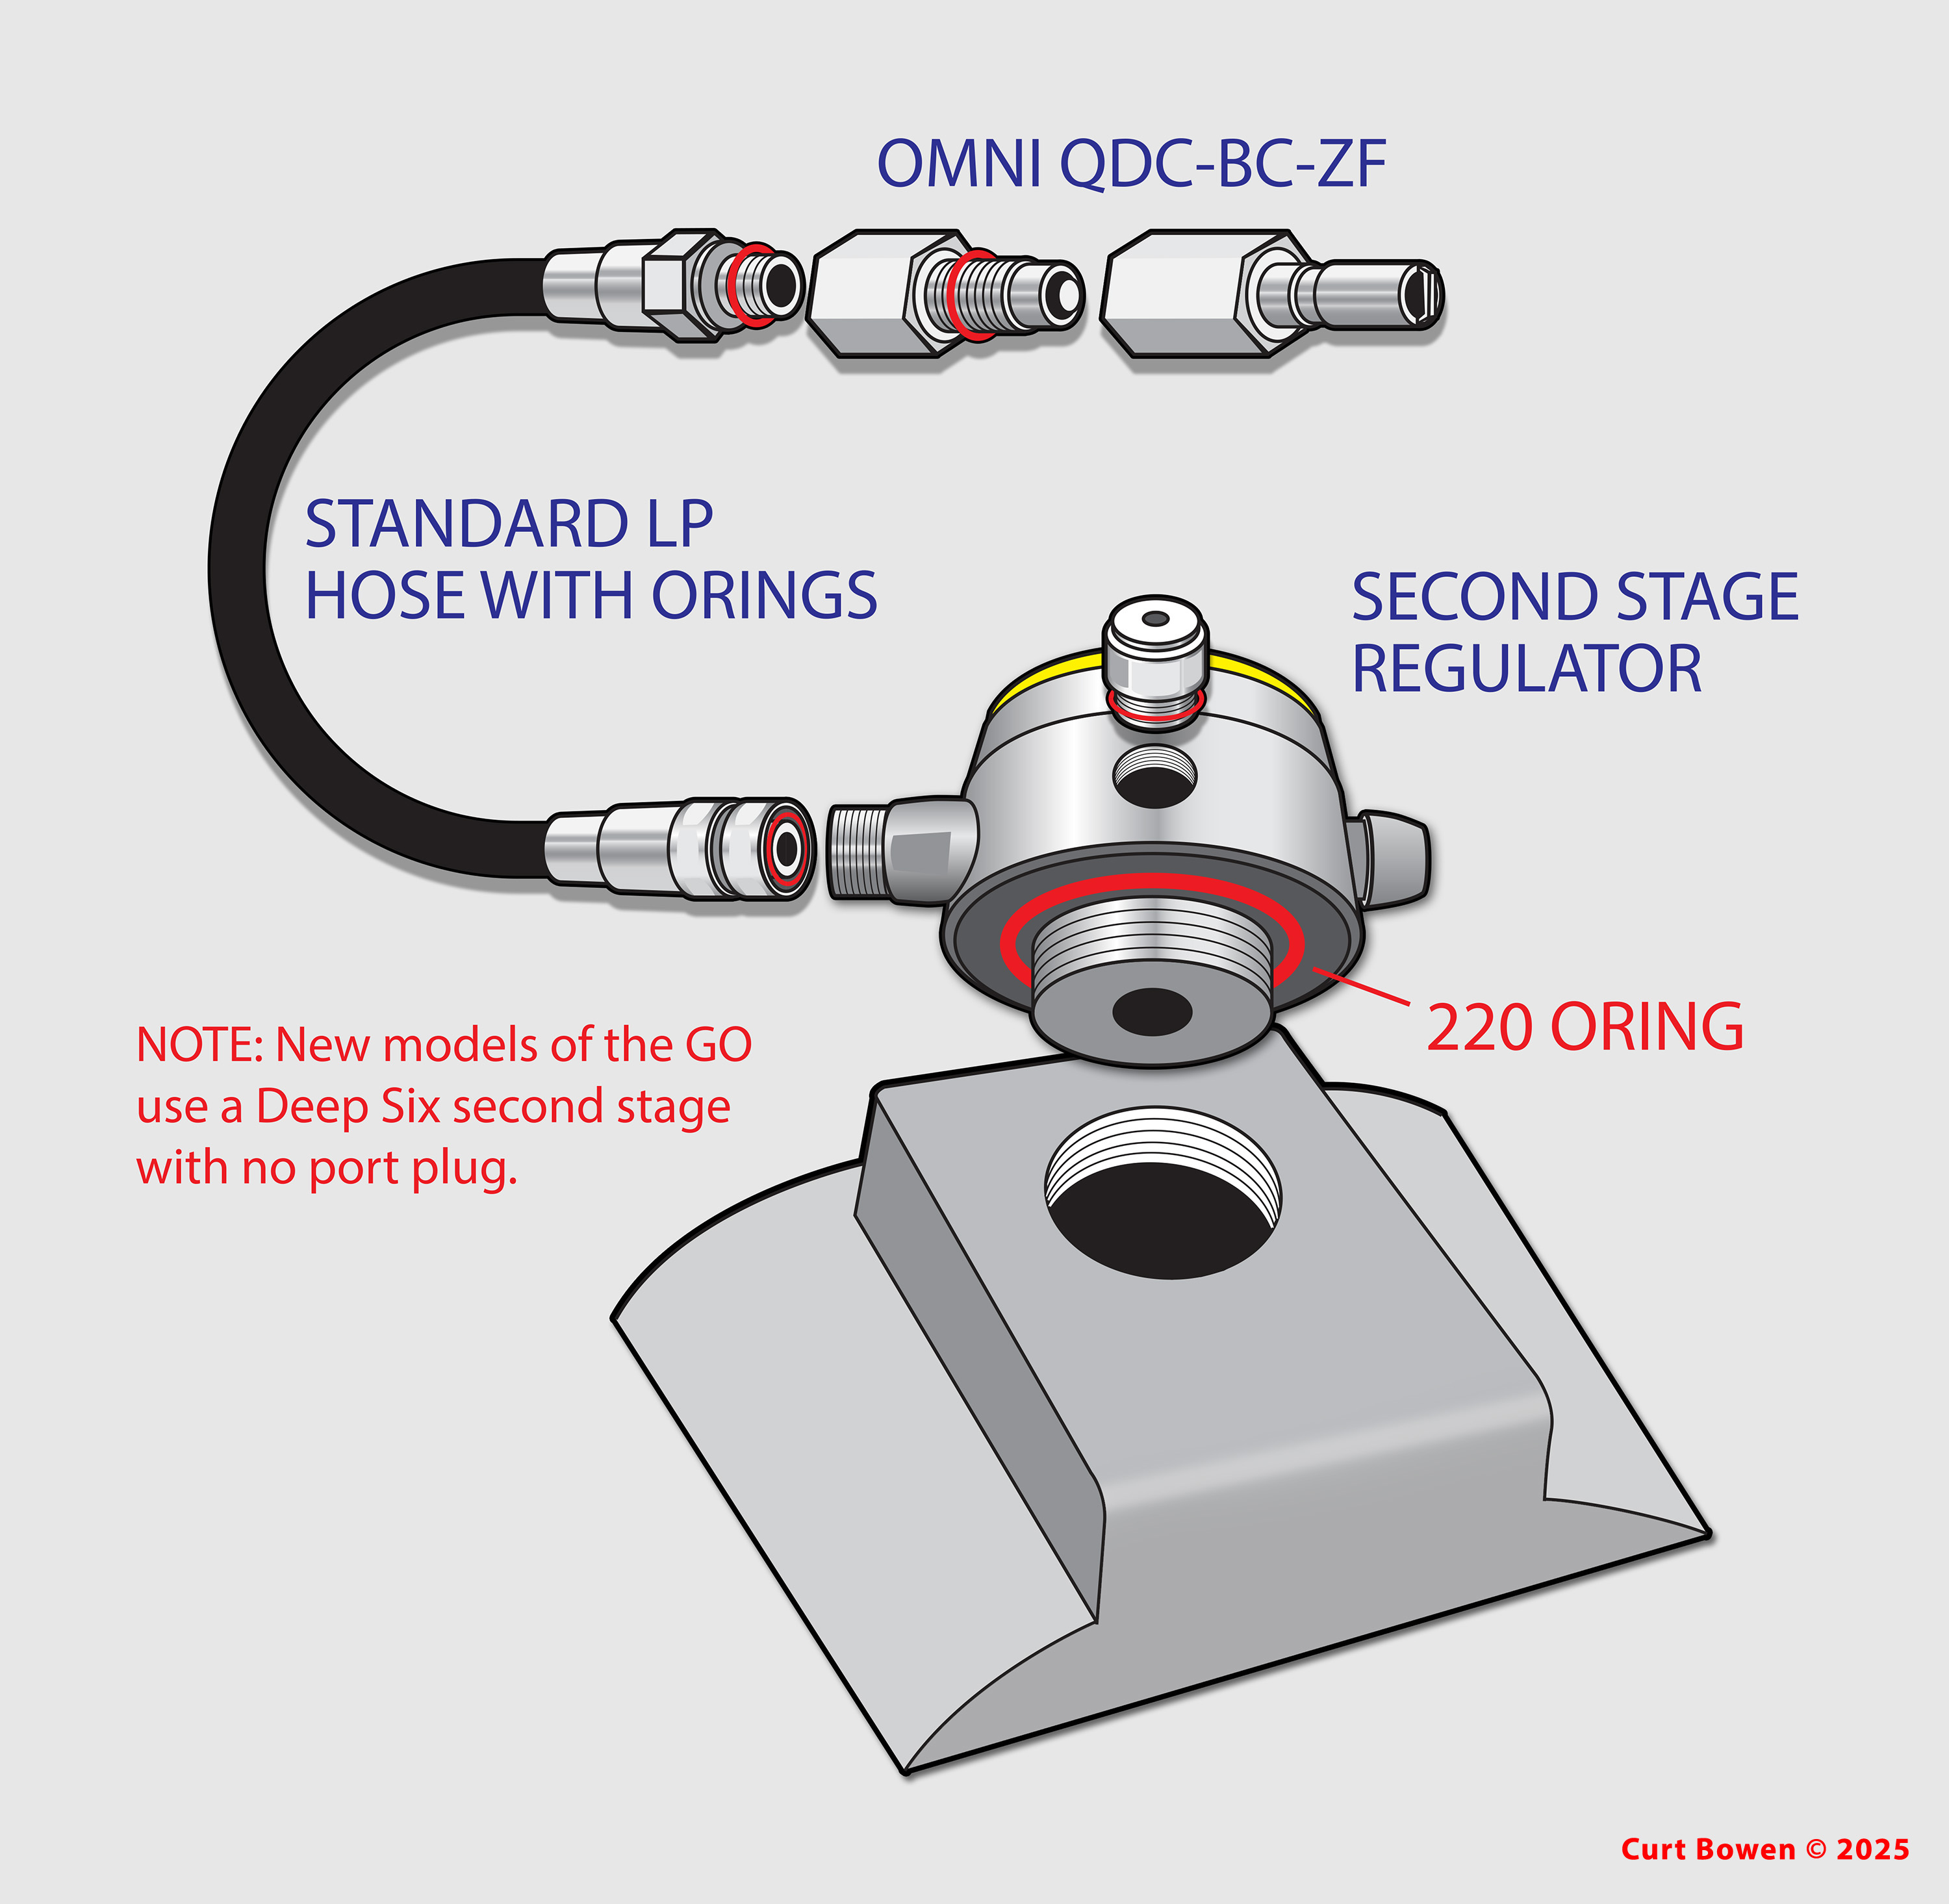
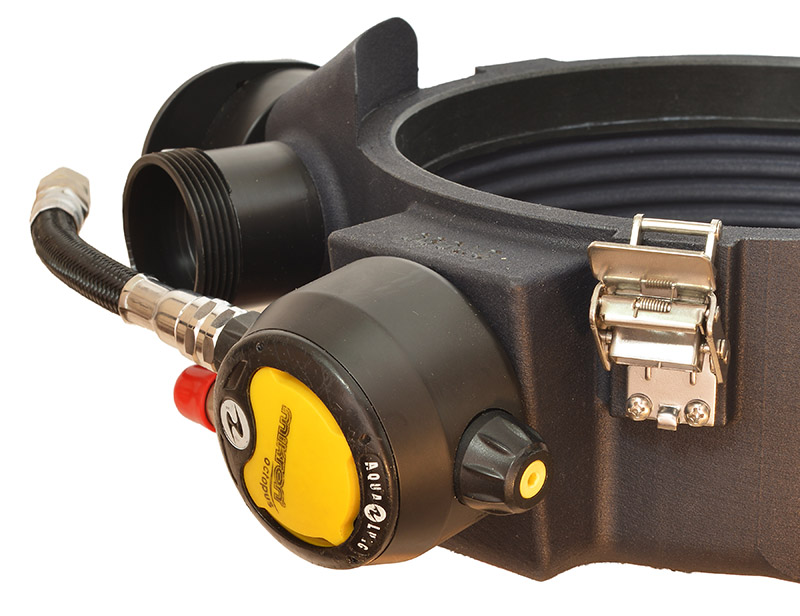
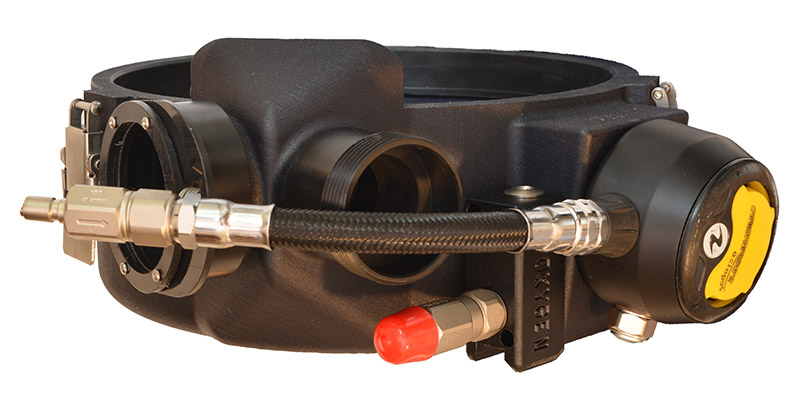
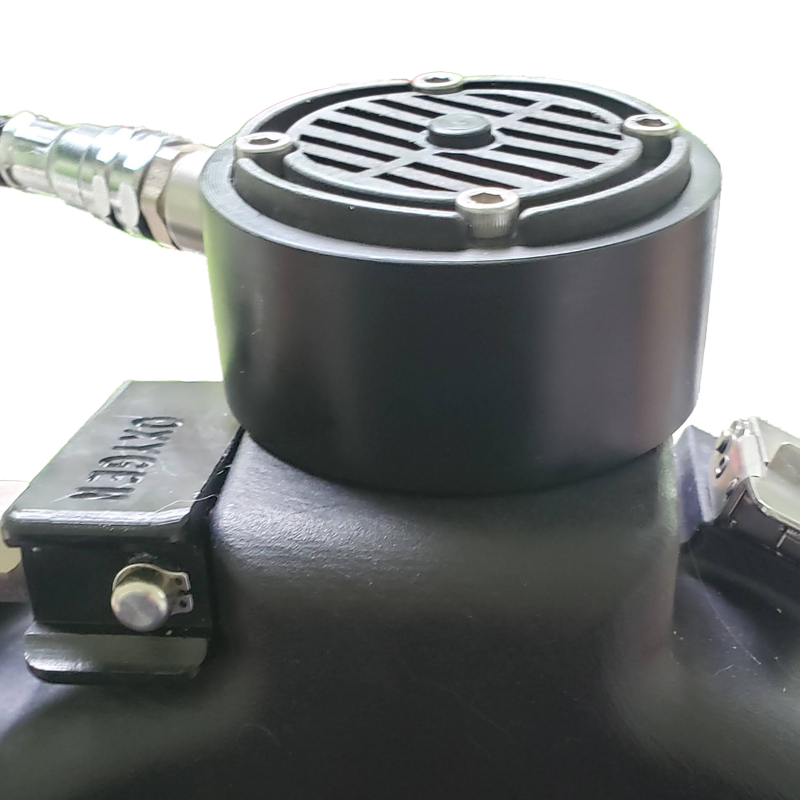
| OXYGEN MANUAL ADD VALVE (MAV) |
 |
| CLICK ON ILLUSTRATION AND IMAGES TO EXPAND |
|
| |
| NON-ADJUSTABLE ADV |
 |
| (Click on thumbnail to Enlarge) |
|
 |
| |
| AUTOMATIC DILUENT VALVE (ADV) |
 |
| CLICK ON ILLUSTRATION AND IMAGES TO EXPAND |
|
| |
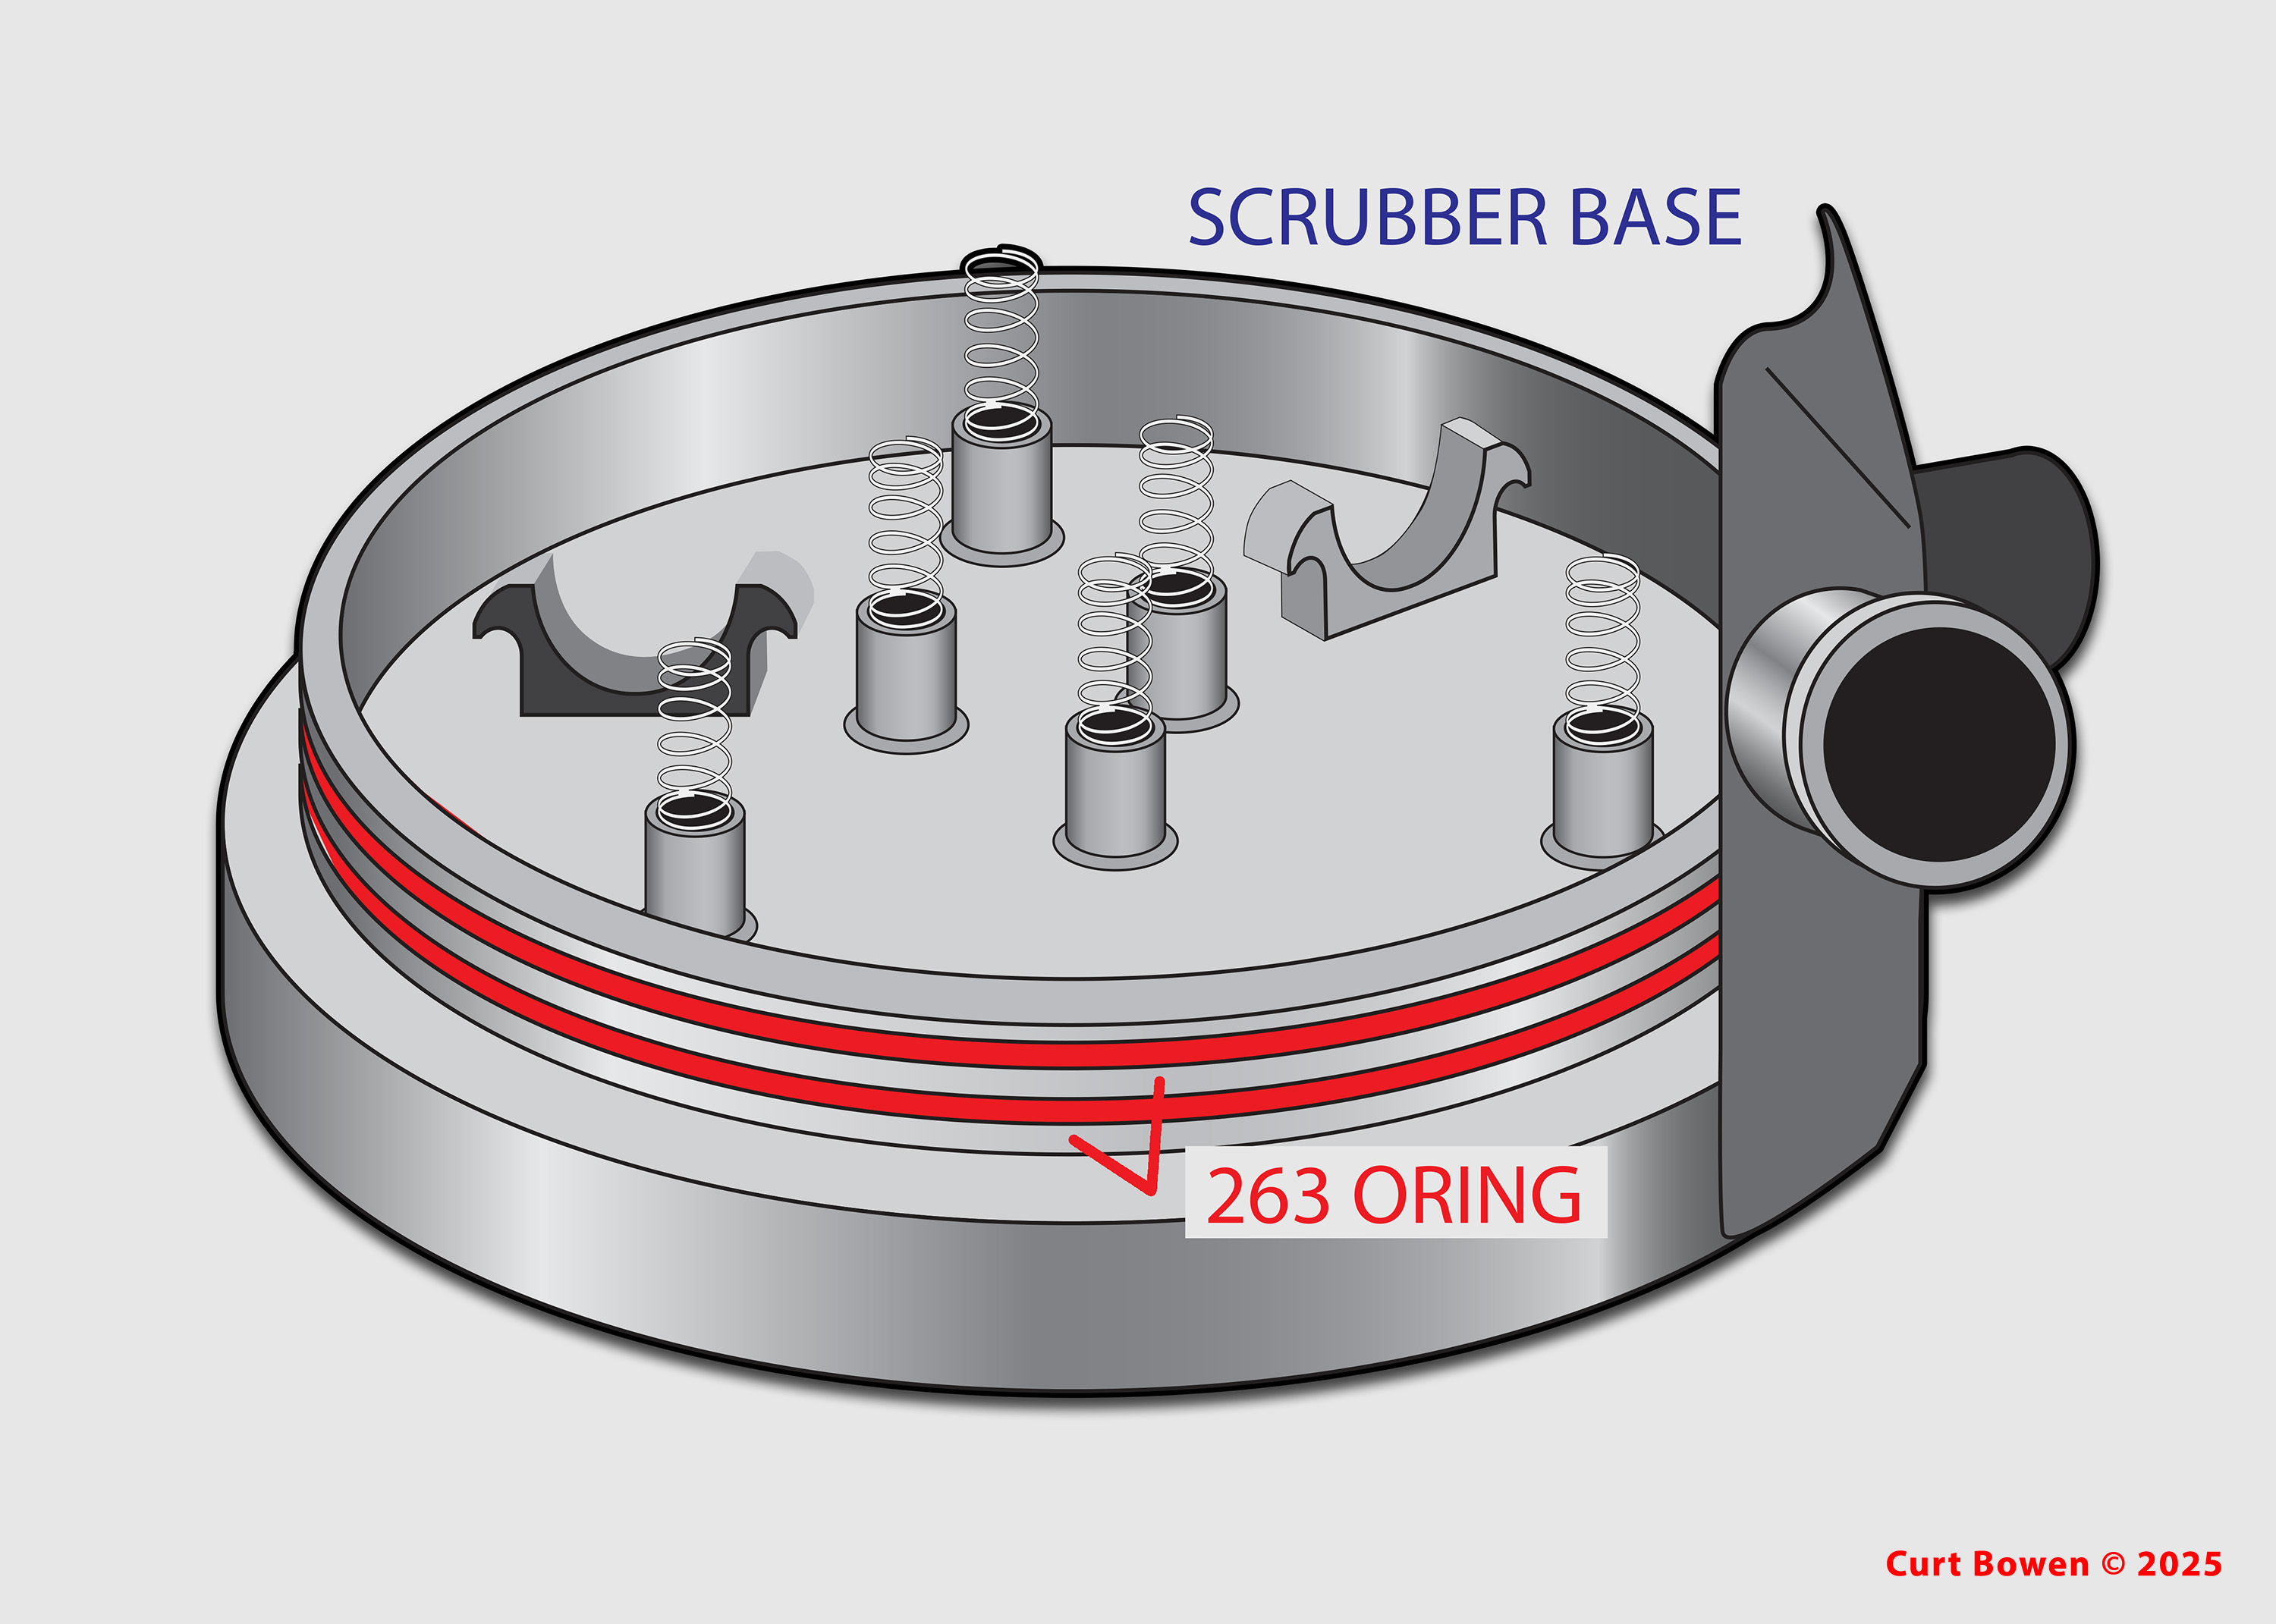
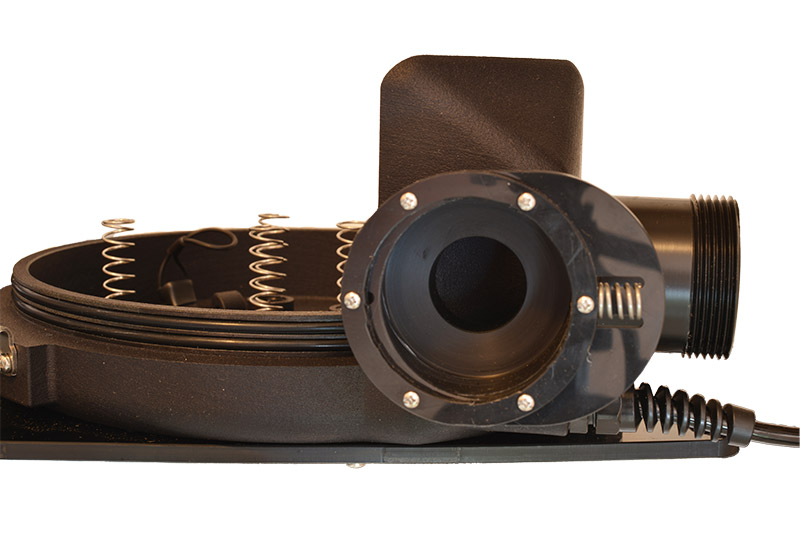
| SCRUBBER BASE |
 |
| CLICK ON ILLUSTRATION AND IMAGES TO EXPAND |
|
| |
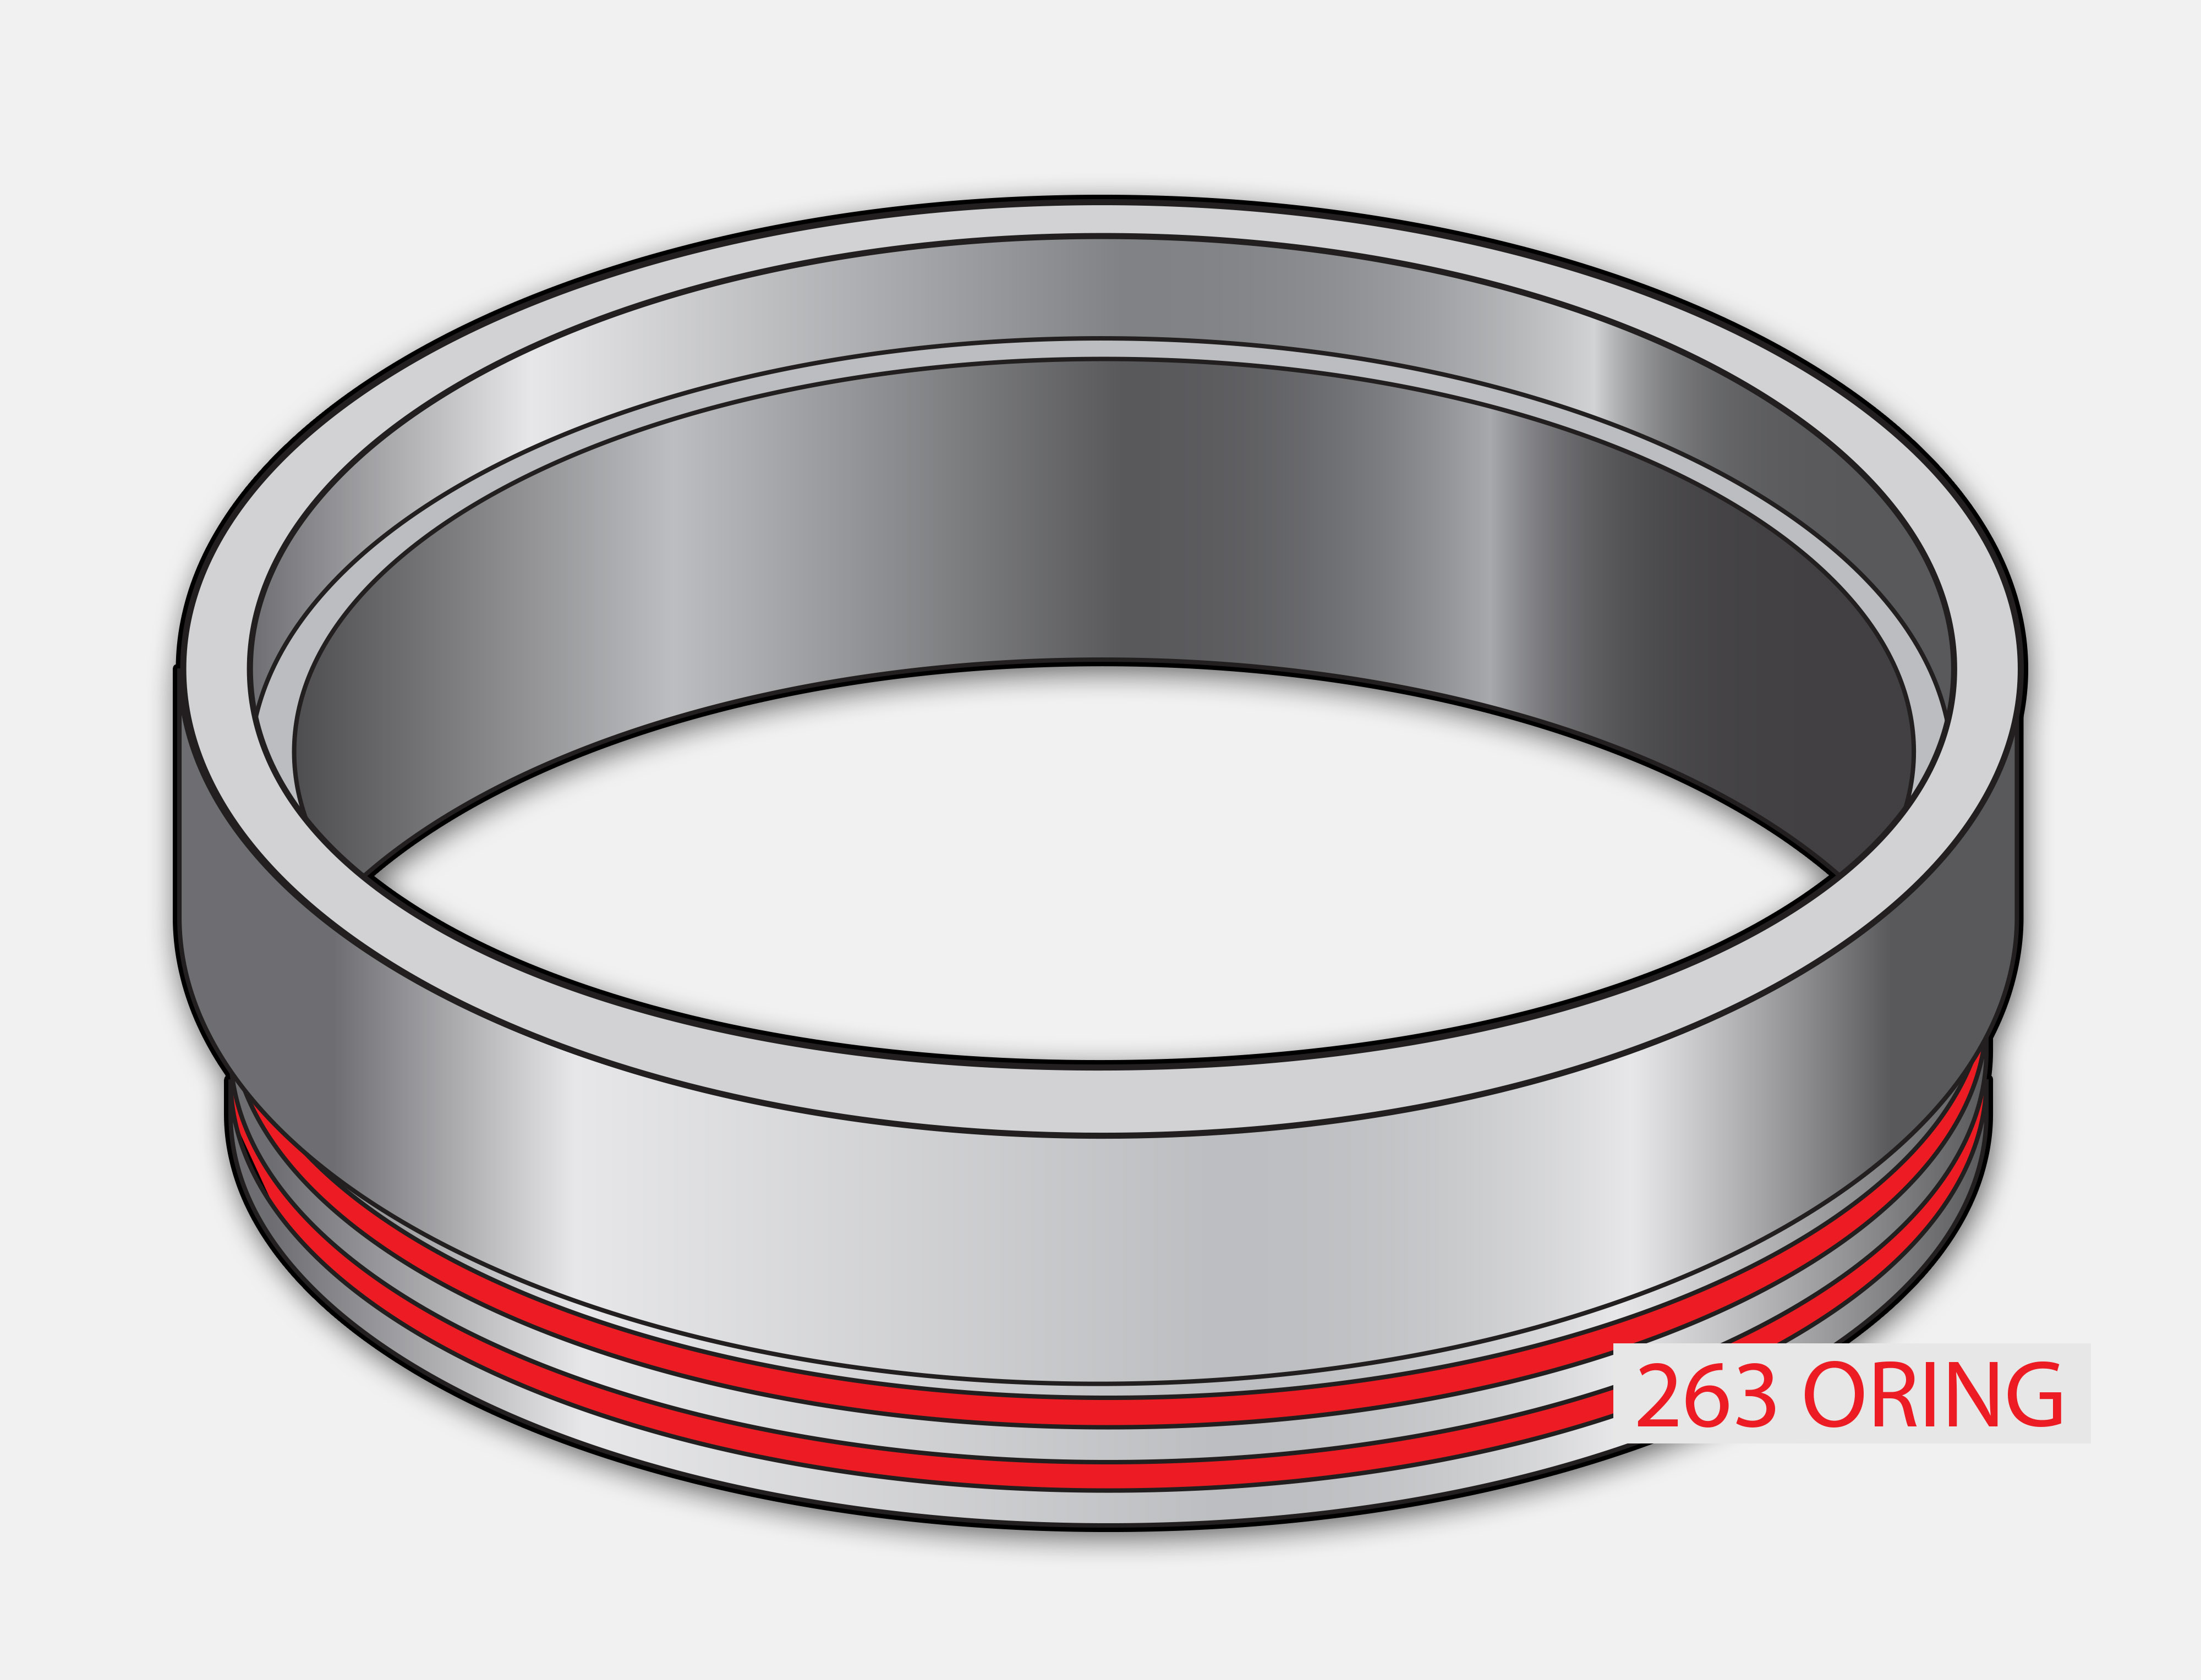
| SCRUBBER EXTENSION |
 |